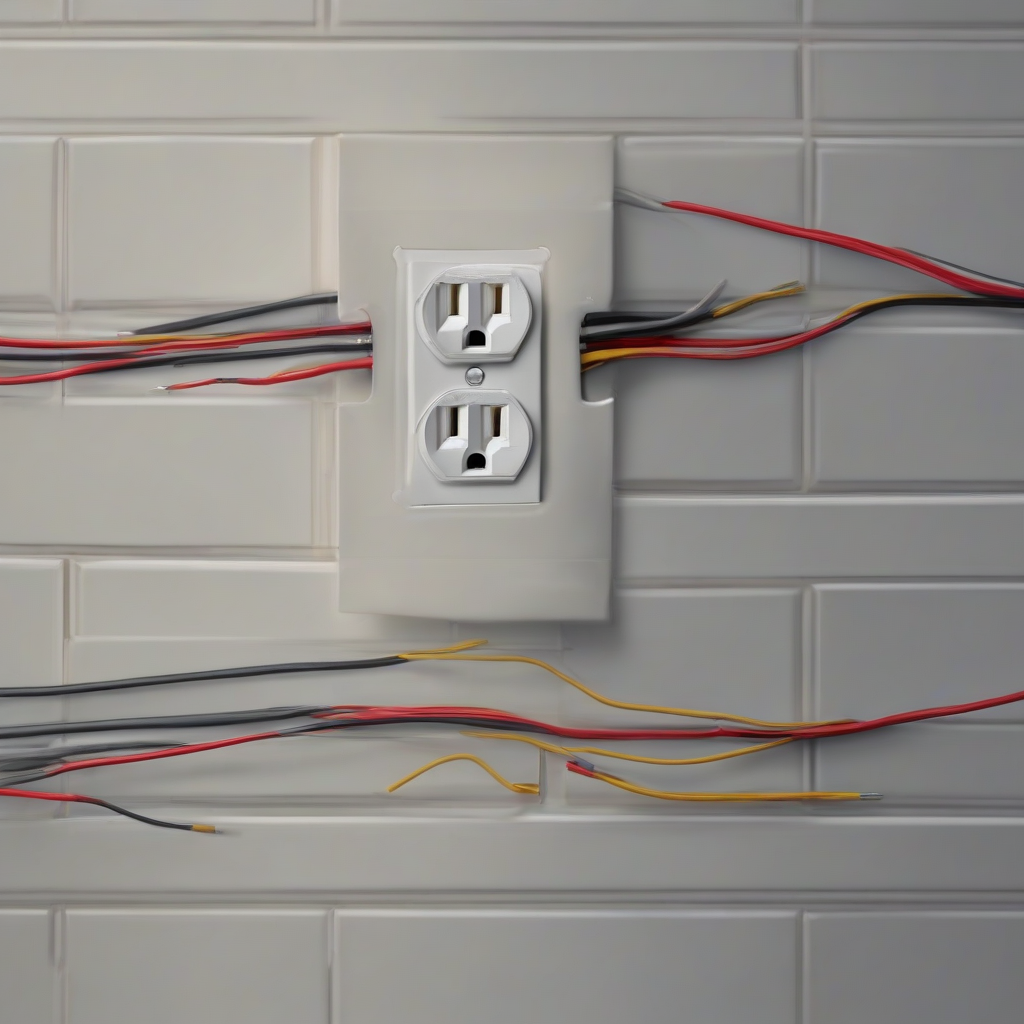
Mastering Parallel Wiring: A Comprehensive Guide to Electrical Outlets
Understanding and correctly implementing parallel wiring for electrical outlets is crucial for safe and efficient home electrical systems. This comprehensive guide delves into the intricacies of parallel wiring, explaining its benefits, the necessary steps for installation, safety precautions, and troubleshooting common issues. We’ll cover everything from basic principles to advanced considerations, ensuring you have a solid grasp of this essential electrical skill.
Understanding Parallel Circuits
In a parallel circuit, each outlet is connected directly to the power source, meaning each device operates independently. This differs significantly from a series circuit, where devices share the same current path. The key advantages of parallel wiring for outlets include:
- Independent Operation: If one outlet malfunctions, the others remain unaffected.
- Consistent Voltage: Each outlet receives the full voltage of the power source, ensuring consistent performance of connected appliances.
- Increased Capacity: Parallel wiring allows for greater overall power draw compared to a series circuit.
- Easy Expansion: Adding new outlets is relatively straightforward with parallel wiring.
Essential Tools and Materials
Before commencing any electrical work, ensure you have the following tools and materials:
- Voltage Tester
- Wire Strippers
- Screwdrivers (Phillips and Flathead)
- Electrical Tape
- Wire Connectors (Wire Nuts)
- Outlet Boxes
- Electrical Outlets
- Romex Cable (or equivalent)
- Fish Tape (if running wire through walls)
- Safety Glasses
- Work Gloves
Safety Precautions: A Non-Negotiable Priority
Electrical work carries inherent risks. Prioritizing safety is paramount. Always follow these crucial steps:
- Turn Off the Power: Before starting any work, switch off the power at the breaker box for the circuit you’re working on. Double-check with a voltage tester to ensure the power is completely off.
- Use Proper Safety Gear: Always wear safety glasses and work gloves to protect yourself from injuries.
- Work with a Partner: If possible, have another person assist you. A second set of eyes can help prevent errors and ensure safety.
- Understand Your Circuit: Familiarize yourself with the wiring diagram of your home’s electrical system. This helps identify the correct circuit breaker to turn off.
- Never Assume: Always test the power with a voltage tester before and after working on the circuit. Never assume the power is off just because you’ve turned off the breaker.
Step-by-Step Guide to Wiring Outlets in Parallel
1. Preparing the Outlet Boxes
Ensure the outlet boxes are securely fastened to the wall studs or other approved mounting locations. Use appropriate screws and ensure the boxes are level.
2. Running the Cable
If running new cable, carefully fish the Romex cable through the walls using a fish tape or other suitable method. Ensure the cable is long enough to reach both the power source and the new outlet location. Follow local building codes regarding cable routing.
3. Connecting the Wires
This is the most crucial step. Carefully strip the insulation from the ends of the Romex cable, exposing the wires (typically black, white, and bare copper). Connect the wires as follows:
- Black (Hot): Connect the black wire from the incoming cable to the black wire of the new outlet and to the black wire of the outgoing cable using wire connectors. This completes the hot wire connection.
- White (Neutral): Connect the white wire from the incoming cable to the white wire of the new outlet and to the white wire of the outgoing cable using wire connectors. This completes the neutral wire connection.
- Bare Copper (Ground): Connect the bare copper ground wire from the incoming cable to the ground screw on the new outlet, to the bare copper wire of the outgoing cable, and to the ground connection on the outlet box. This is essential for safety.
Ensure all connections are secure and that no bare wires are exposed. Use appropriate wire nuts and tighten them firmly. Overly tight connections can damage wires.
4. Mounting the Outlet
Carefully push the wires into the outlet box and secure the outlet in place using the mounting screws. Ensure the outlet is flush against the wall.
5. Testing the Connection
After completing the wiring, turn the power back on at the breaker box. Test the outlet with a voltage tester to ensure it’s working correctly and that no wires are short-circuiting. Plug a small appliance into the outlet to verify functionality.
6. Repeating for Additional Outlets
To add more outlets in parallel, simply continue this process. Each new outlet will connect to the previous one in the same manner (black to black, white to white, ground to ground) and receive its power independently.
Troubleshooting Common Problems
Despite careful installation, problems can arise. Here are common issues and troubleshooting steps:
- Outlet Doesn’t Work: Check the breaker to ensure power is on. Test the outlet with a voltage tester. Verify all wire connections are secure and correct.
- Tripped Breaker: This indicates a short circuit or overload. Check for loose wires, damaged insulation, or overloaded circuits.
- Flickering Lights: This can be a sign of loose connections or a problem with the wiring. Inspect connections carefully and tighten loose wires.
- Sparking Outlets: This is a serious safety hazard. Immediately turn off the power at the breaker box and contact a qualified electrician.
Advanced Considerations
For more complex scenarios, such as working with GFCI (Ground Fault Circuit Interrupter) outlets or AFCI (Arc Fault Circuit Interrupter) outlets, additional considerations and specialized wiring techniques are necessary. Always consult relevant electrical codes and, if uncertain, seek professional help.
Remember, improper electrical wiring can lead to fire hazards and electrical shocks. If you are not confident in your abilities, it is always best to hire a qualified and licensed electrician to perform any electrical work.
